
A HUSSAR'S DUTY - PART TWO
Turn 7
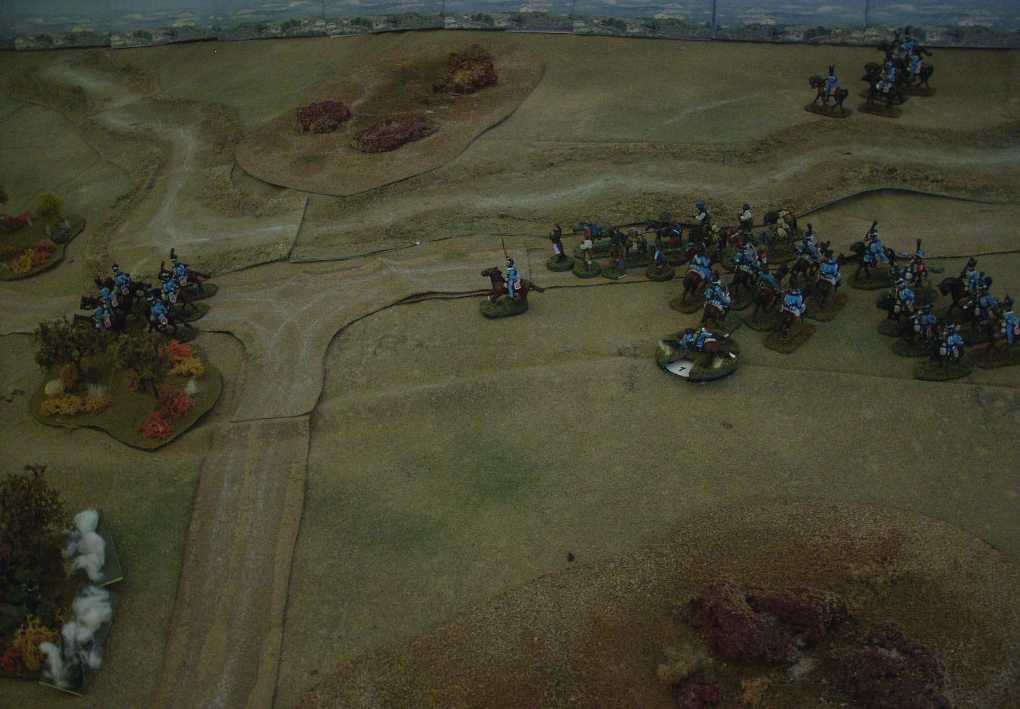
Graspez le Saucission IV, Graspez le Saucission II, Graspez le Saucission III, Lt Destot...
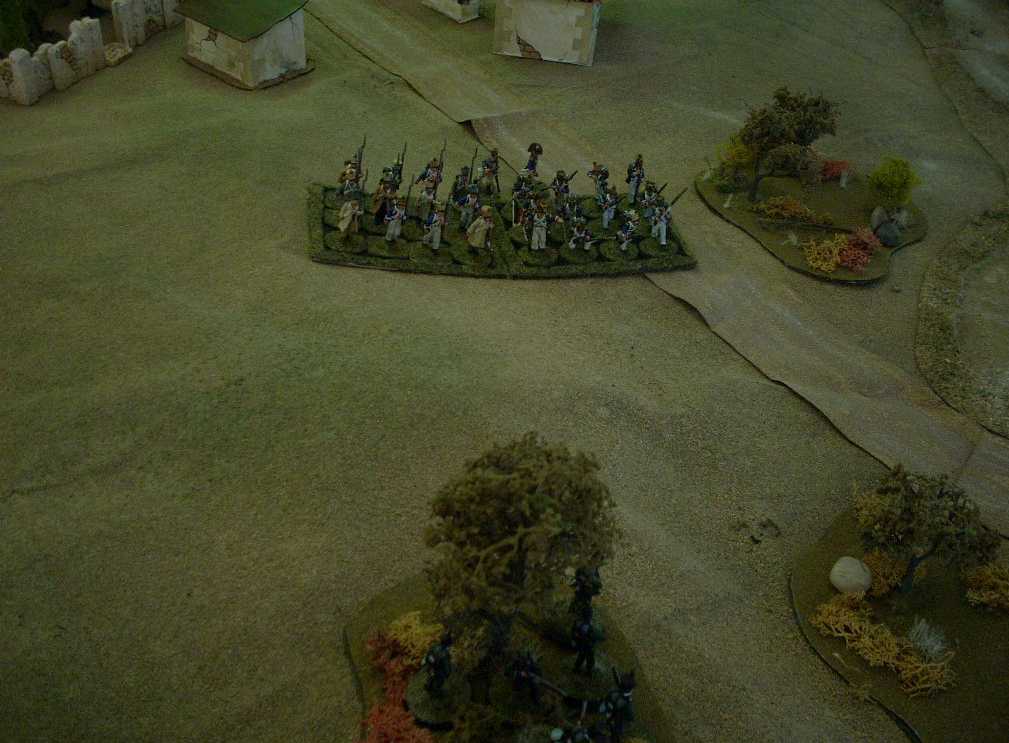
Getting only 1 initiative, Destot opts to roll the his detachment forward. Their carbines have only a 9" range so that is not an option. Each action they use for movement gets them +3" for trotting and they get +1" for being in skirmish formation. Using both action dice they roll an 8 and add their 8 to get 16" but then must lose 3" for the 3 shock points they have. Their advance is 13" total.
...Graspez le Saucission I, Tiffin.
On the Tiffin, Hawkesworthe's men would love to have fired but are still facing the wrong way so they cannot act. Dallyrumple's boys finish their reloading.
Turn 8 - events occur!
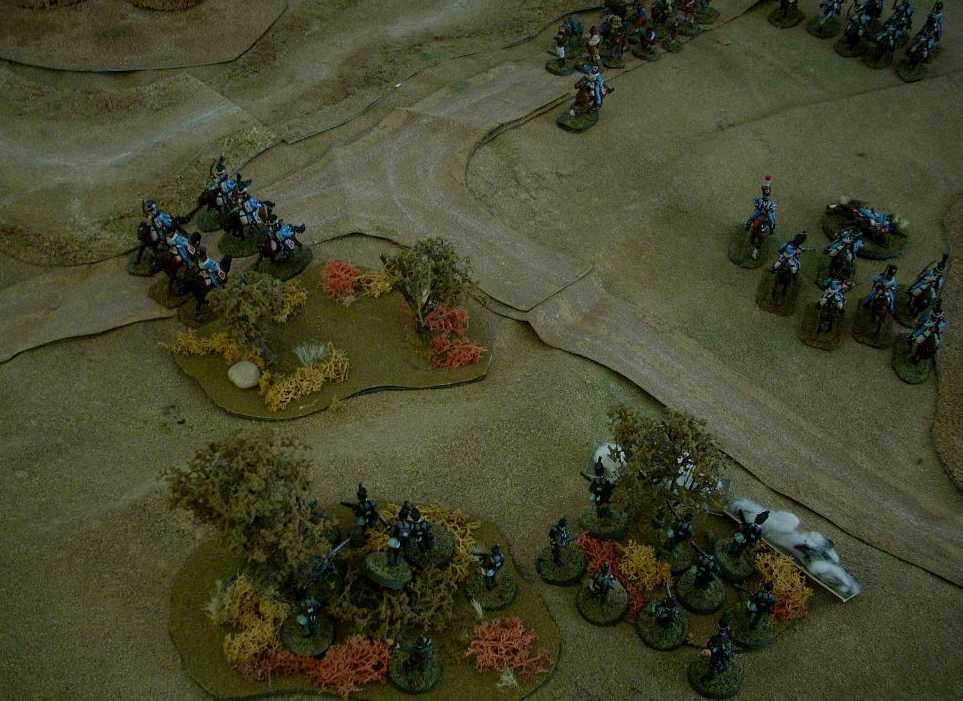
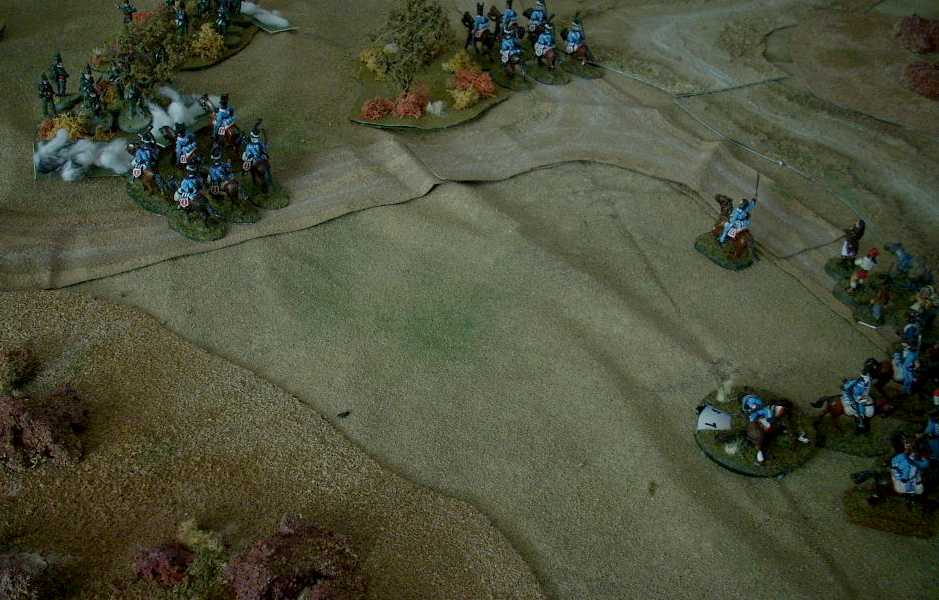
Banville comes up first and with his two initiatives, he activates the two rearmost groups as they are both within his 10" command radius. Each will trot 2D6 +6".

Hawkesworthe is up next and he immediately activates the group that he is with. They use one action dice to move 1D6+1" into cover and make certain that they face the correct direction and then open fire on the advancing Hussars. 8 dice + 2 for being elite + 3 for firing on Hawkesworthe's initiative gives them 13 dice. They hit on 4-6 at this close range. They get 8 hits and when we roll for effect the result is 5 shock (!) and 1 kill. First we roll a D6 to see if Destot is hit but since there was only 1 kill, we would have needed the miserable luck of rolling a '1' for that to occur. It didn't so the hit is on a rank and file trooper. Because the target is cavalry (Donkey Wallopers) we roll once more for the effect and the cavalry are fortunate as the horse ignores the wound. The 5 shock are added to the group bringing their total to 8 which is more than the number of figures in the group (6). The cavalry is losing its bottle and so on the next Tiffin card, they will be obliged to retire out of small arms range. Rifles having a 36" range makes this problematic.

Hawkesworthe still has two remaining initiatives but chooses not to active Dallyrumple's men. Their firing would be decisive against the battered Hussars but he is loathe to leave his entire command unloaded. His initiatives go by unused.
Destot comes up next and all he dare do is remove a point of shock from his disheartened Hussars.
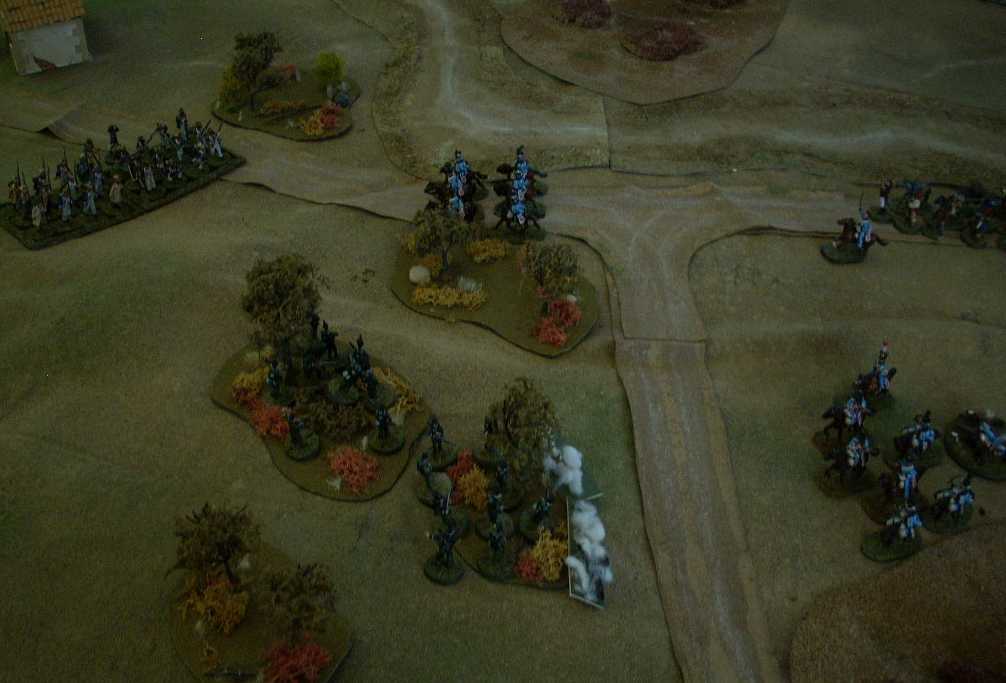
Montfort steps into the spotlight next as commander of the infantry formation. With élan and decisiveness and the use of both a Hop to It and Pas de Charge bonus cards, Montfort orders his formation to hurry forward, switching form column to line as they do so. 3D6 +9"! (I likely did that formation change wrong. It was remarkably easy to just wheel the rear unit onto the side of the front). The little band hurtles toward Dallyrumple's riflemen with a rousing cheer ...
...and right about then the blind to the right is remembered. Montfort uses his second initiative to do a spot check and easily spies Sgt Corgi and 8 riflemen on the plain... on the flank.

Graspez le Saucission I... Bonus Card... Bonus Card... Graspez le Saucission IV... Graspez le Saucission III...
Henri Darlon! He gets 2 Bonus Cards added to his hand and no less than 7 initiatives to use.
1. Activate himself and trot forward to get a better look at things,
attaching to the forward troop.
2 and 3. - Remove 2 shock from the nearby Hussars
4. Spot that that accursed blind that is across the dry riverbed. It turns out
to be a Dummy.
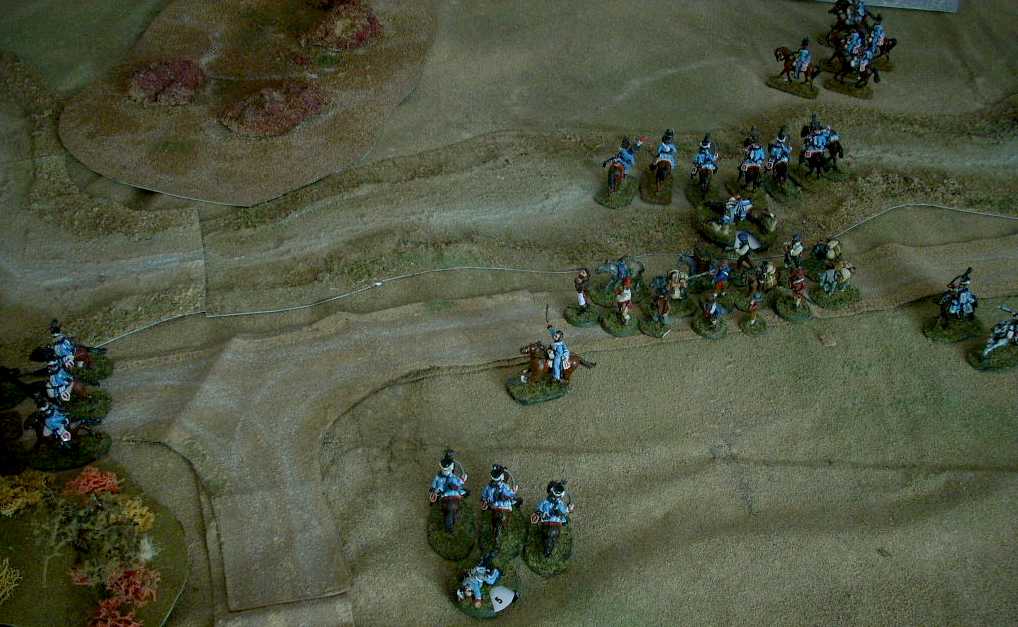
5. Activate the Hussars. They use 2 action dice to trot forward and roll nothing
less than a 12, getting 18" of movement which perfectly puts cover between
themselves and the British sharpshooters.
6. Activate the mule train and it will use 2D6 of movement to plod along up the
road.
The seventh activation is wasted but he is not going to complain too much.
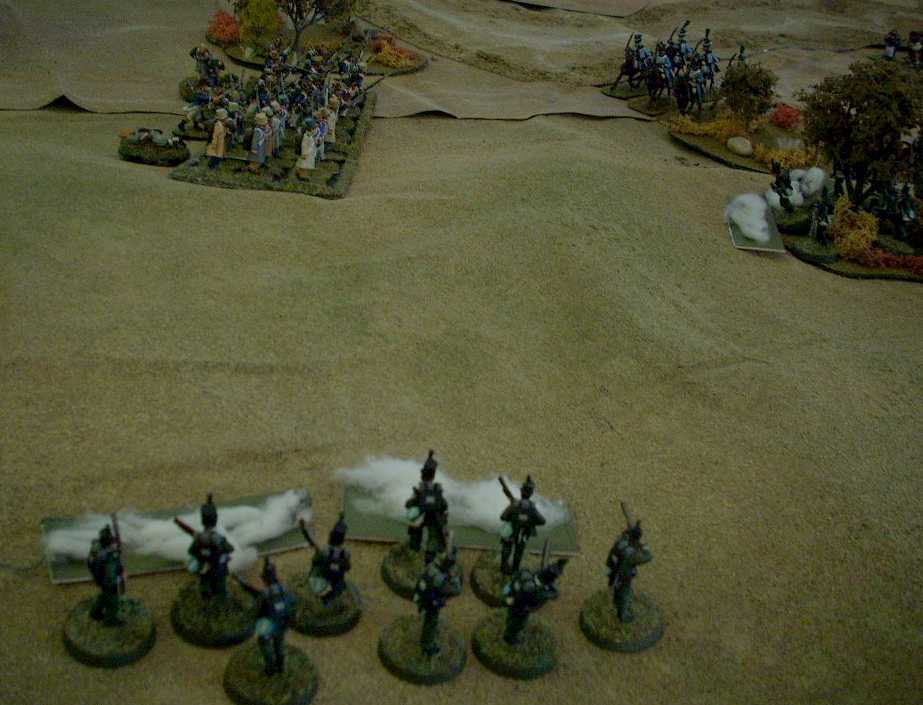
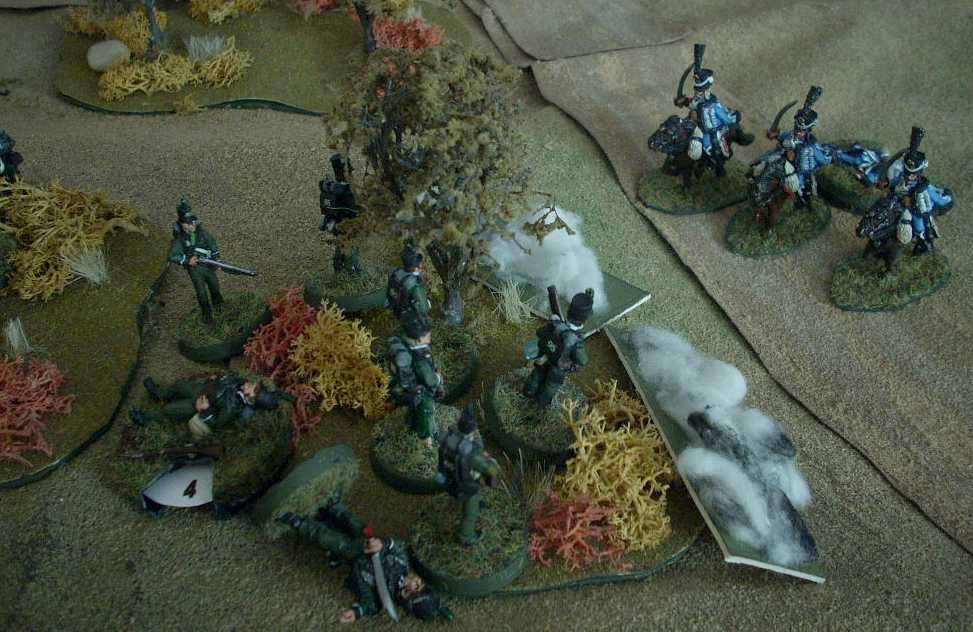
The Sharp Practice card comes next so the British have a choice: To fire with Dallyrumple's men or Corgi's. Dallyrumple isn't facing the target that he'd like to shoot and Corgi's enfilade shot is too good to pass up. Besides, we know Corgi's card isn't in the deck yet so he'll have no other chance to be activated (though he could also wait and fire on Tiffin)
Eight elite riflemen firing their first volley will get 12 dice. They get an extra dice for firing into an enfiladed line but more frightening is that they add 1 for their target being in line and another +1 for them being enfiladed. They will hit on 2+. Only a single '1' is rolled so 12 hits are applied. Because it is an enfilade and both groups of the infantry formation are in the same range band, they will share the pain. After fire effect rolls are made it turns out that both groups will take 4 shock. That will dampen their élan.
Next up is Lieutenant Marat. Both of the groups within his command range have already activated this turn so he uses his boyish charm to remove 1 point of shock from the group he is attached to: the voltigeurs.
When Dallyrumple's card comes up he has a tough choice. He decides that the crisis is at hand so shifts his men to get a shot at the advancing infantry formation and releases a volley. 8 dice + 2 for elites +1 for firing on the Big Man's initiative = 11 dice requiring 3+ to hit. Only 5 hits are made with a final effect of applying 1 shock to the voltigeurs and only 1 shock to the fusiliers. Apparently Lord Dallyrumple's voice broke as he gave the command to fire.
On British Blinds, another Blind appears once again right behind Hawkesworthe and his band. We know that only one formation is left to the British so that is either 12 Light Dragoons or it is a Dummy marker...
Every Big Man got to activate that turn. Indeed, Tiffin was at the bottom of the deck. Destot's little band rides 2D6 +6" toward the rear. If they can get to the riverbed they can get into full cover and so try to rally.
Nobody else gets to use the Tiffin as all groups acted this turn. The British would not be interested in revealing that blind yet. It is very useful as is but it will meanwhile be treated by everyone as though it is Light Dragoons.

Turn 9
Destot comes up first and rather than do the prudent thing and remove a shock from his Hussars, he instead orders the rear guard forward and then a brilliant (or foolish!) idea enters his head. He makes it a charge order. Forward at the Gallop! Amazingly, they roll well too achieving a 16 +9 for 25". They close with Hawkesworthe with 2" to spare.
Was it the right thing to do to order formed cavalry to charge uphill into elite riflemen in forested cover, even with those men being unloaded? Destot's career hangs in the balance. On consideration of how close Destot was to the group, I determine that he could have attached and gone with them but he decides that he is better off tending to rallying.

The Hussars will get +1D6 per man in the fight (6). I'll work out all the percentage bonuses and then apply them. I grant them +100% bonus for fighting unformed infantry in open (skirmish is technically not formed but there must be some downside to this against cavalry), -66% for the enemy troops having cover and +25% for it being a charge at the gallop so they end up with +59% which rounds up for French bias to +4 dice. Hussars will roll 10 dice.
| Too late I realized that I did this wrong. There shouldn't have been the +100% bonus for fighting unformed infantry in the open NOT because the rifles were not unformed but because they were not in the open. oops. |
The Riflemen get +1D6 for each man in the fight so that's 9 dice. Hawkesworthe's 3 levels of Big Man will get them another +1D6 and then being elite vs. good grants another 2D6 for 12 dice before percentages. There, they get +33% for defending light cover and -33% for being unloaded receiving a charge.
The Hussars roll their 10 dice and get 2 x '5's and 1 x '6'. The Infantry get 3 x '5s' and a '6'. We instantly apply the shocks and kills. Because Hawkesworthe is present and his unit took 1 casualty, he will be the sole rifleman casualty if I roll a 1 on a D10 roll. No such luck.
The result is a draw (only kills are counted) so they immediately fight another round but now they each lose dice for casualties and -1D per 2 shock.
The Rifles will get 10 dice (8 figs+2 for elite +1 for Hawkesworthe -1 for shock). The result of their roll is 1 kill and no shock.
The Hussars will get 6 dice and they achieve 1 kill and 2 shock. Another draw and Hawkesworthe survives again!
The +59% rounding up works in the Hussars favour in this pass as the four riders with 2 shock will get rounded up to 5 dice to roll. They achieve a single 6 from it.
Hawkesworthe's company will get 8 dice (7 figs +2 for elite +1 for Hawkesworthe -2 for shock) and achieve 1 kill and 2 shock.
It is a third round of draws so the remnants of the Hussars fall back 2" and both sides rest. Not the result that young Destot would have liked but then I roll for Big Man casualties and indeed, Hawkesworthe takes the sabre cut! Consulting the Hits on Big Men table, it is determined that Hawkesworthe is badly wounded and out of the combat! This could be decisive indeed.
When the Sharp Practice next comes up, the soldiers protecting the wounded Hawkesworthe realize that they'll never get another order from him and so take the opportunity to immediately do a tap reload.
The Tiffin is the next draw. We now have two groups of Hussars in recall mode, heading for cover because their shock outnumbers their number of men. The one group reaches cover but the charges are slothful in retreat and roll a '2' so only trot 8" away from the site of the melee. Hawkesworthe's men could fire on the Tiffin but they like their bullets up the barrels, thank you very much. Both other groups of riflemen take advantage of the Tiffin to perform half of a full reload.
The French infantry though consider their options.
They could choose to fire on the Tiffin. Their basic dice amount for each group will be 8 for the figs in the front two ranks +2 for half the third so 10. They'd get +2 dice per group for it being their first volley but -2 dice each for the accumulated shock. At this range they'd need 5+ to hit (+1 because they are in line) but then with their targets being in soft cover they'd be removing half their dice. They decide to get involved and take a shot at Dallyrumple, rolling 5 dice for each of the two groups. Together they do 4 hits and when we roll for fire effect it is an amazing 3 kills and 1 shock. Such are the vagaries of dice! Will it be capped off by putting a bullet through Dallyrumple's forehead? No! The D10 roll for Big Man hits is a 5 so three riflemen are removed and 1 shock is applied.
