A HUSSAR'S DUTY
PART THREE
Turn 10
Bonus Card... Graspez le Saucission II...
Henri Darlon. The man will have 5 initiatives to use and there's some tough
choices.
Option #1 - Attach himself to that unit that is falling back, remove 3
shock from it, and then order it to move to follow up his advance guard. He
could later form them into a single group of 9. That would be thinking long term
and prudent.
Option #2 - Ride forward and attach himself to the advance guard and then
use a second initiative to order them to charge. He would then have 3
initiatives remaining to apply to their melee numbers with fervour.
Option #3 - get the convoy moving. He's even got a Forced March bonus card
up his sleeve so they could go 3D6" toward the village. He'd then still have 4
initiatives left. He could do that and still do other things but Banville has
only moved once in 9 turns. He's due! He can do it.
Options #4 - use his 4 initiatives to command as many units as possible to get
into position to be useful later.
It comes down to a question of Glory and Élan vs. Prudence and Caution.
... de Brack did say that one should attack an ambush aggressively...
In order to get Henri into the melee, I had to do it this way:
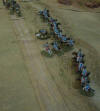
1. He orders the Hussars to charge at the gallop. Wheeling, they get enough
movement to reach Dallyrumple's men.
2. He activates the convoy and, with a Forced March bonus card, it moves 3D6"
down the road.
3. He activates himself and rides at the gallop into join his troops in melee.
4 and 5. He adds two fervour to inspire the men in melee with him.
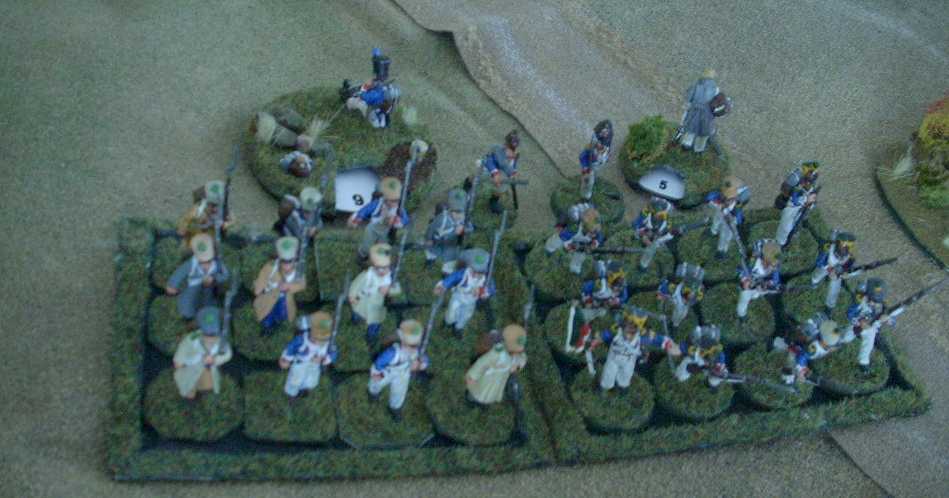
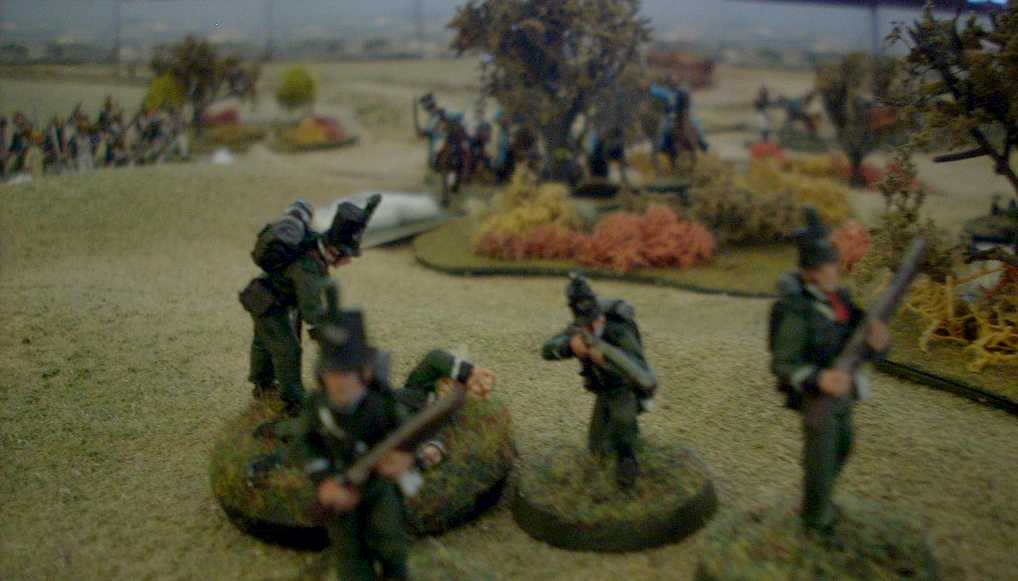
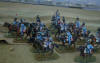
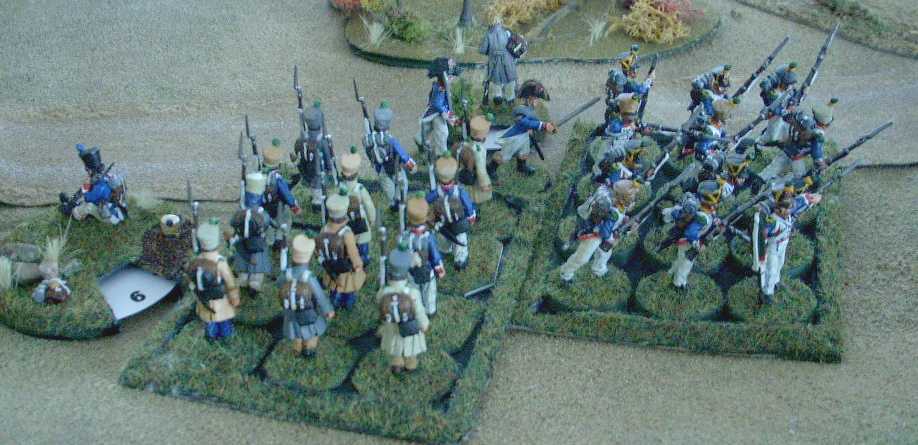
There are 5 riflemen plus Dallyrumple so they start with 6D6 As they are
elite vs. The Good French, they get +2D6. +33% for defending cover and -33% for
being unloaded. They will end up rolling 8D6.
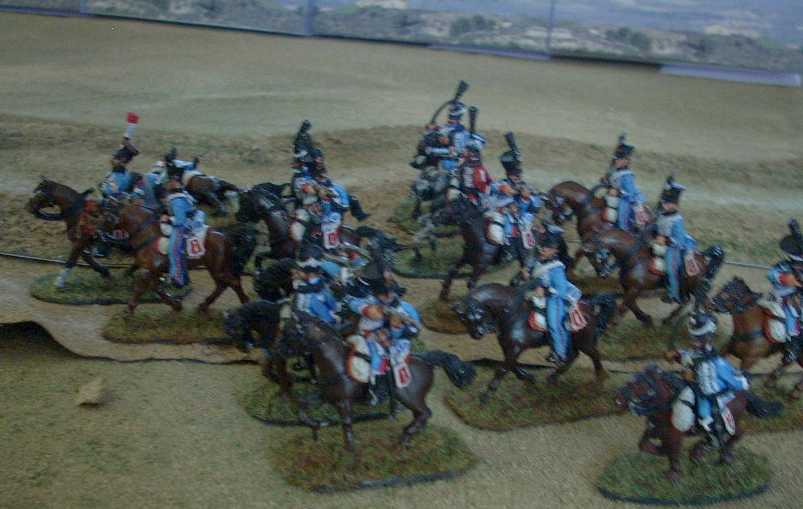
The Hussars are much better off in this charge with the addition of a level 4
Big Man. 7D6 base for number of figures + 4D6 for a level 4 Big Man leading the
charge +2D6 for added fervour = 13 dice
I notice now that I did my first fight wrong. Technically, as written, there
is no bonus for fighting skirmish troops with formed cavalry and this is
especially true when they are not in the open. Their cover bonus would apply
three times then (Once as a bonus to their dice, once to nullify the 'in open'
of their opponent, and once to deduct 66% from their opponent for fighting
against soft cover). As written, instead of +59% (21 dice) the Hussars would get
-41% (8 dice). It really is a light infantryman's world. We'll go with that and
see what the dice Gods have to say about justice.
The Riflemen get 1 kill and 2 shock. The Kill turns out to be Henri Darlon
but when I roll on the Hits on Big Men table it is only a light wound (I might
as well remove the Graspez le Saucission IV card from the deck now). The Dice
Gods favour the Hussars and they get 3 kills with no shock. Dallyrumple is
seriously wounded and falls. Two Riflemen and Dallyrumple are removed. There are
now no Big Men commanding the main riflemen force. Only Sgt Corgi, who is a 1,
remains.
Worse though for the Rifles is that they have lost by two to a cavalry
charge. The surviving rifles take 2 more shock and rout 12" to the rear and Henri's men remain firmly
in control under his watchful eye.
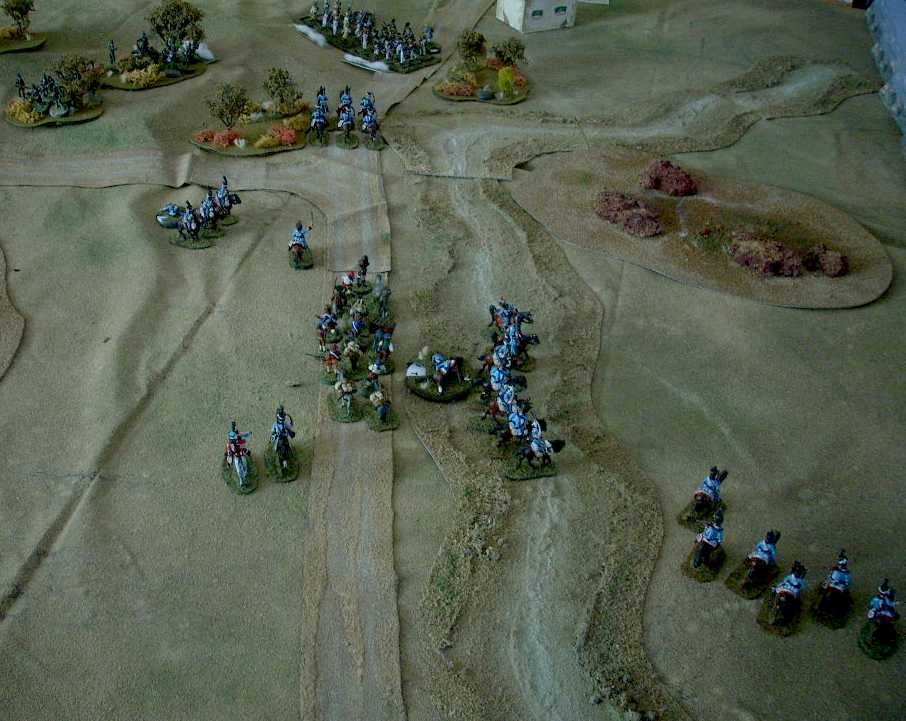
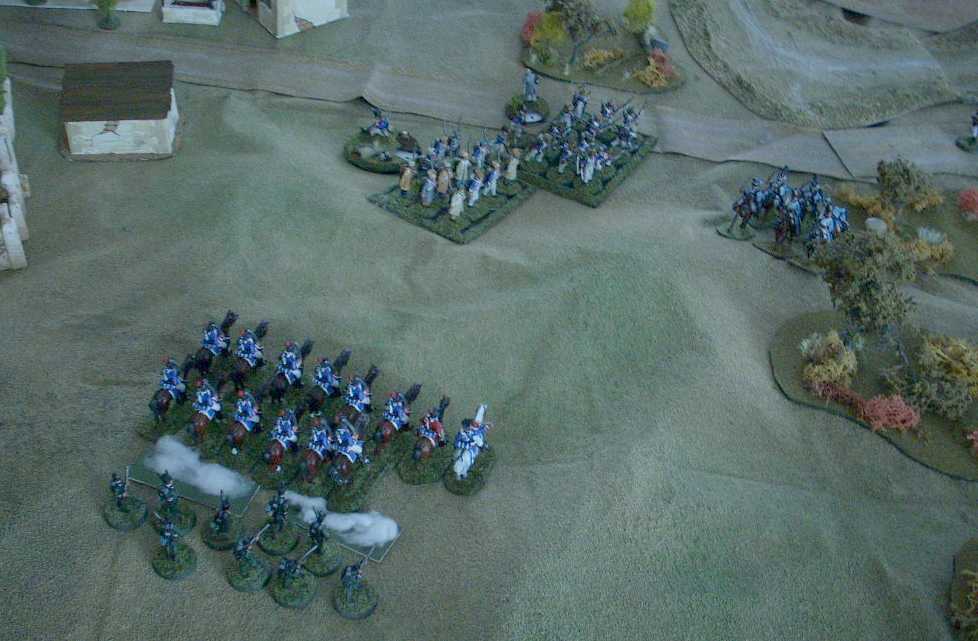
When Banville is next drawn, he rides over to attach himself to the unit in
the riverbed and then uses his trumpeter to sound the recall. All cavalry within
24" will move toward Banville's new position and start to reform. Most of that
cavalry is still reordering but the ones across the riverbed begin to return.
With the British Blinds card coming up, the 6th blind finally arrives and it
appears behind Sgt Corgi. The other blind moves to sort of cover the retreat of
Dallyrumple's men.
Destot removes 1 shock from his men and Marat does the same for his
voltigeurs.
Much happens on Tiffin:
First, The British choose to reveal their Blinds. They need an officer on the
table, afterall. It turns out that Lt Day and his Dragoons are behind Corgi and
therefore on the flank of the French infantry line. The other is the dummy.
Now, as per the scenario, I'm rolling 2D6 at the end of each turn to test for a
certain random event and finally get a result when I roll 2 x '1's. The rule was
written with a GM in mind:
| Should
a double one be thrown, the gamemaster/umpire tells the British player
that the unit of guerrillas are his reinforcements, and can come on the
table at any point he desires (apart from in the town). He plays as per
normal with these guerrillas, until the first time he tries to either
shoot or charge with them, at which point we learn that Abbot Costello's
men are secretly Afranscendos. Their control is then handed immediately
over to the French player, and they play on for the rest of the game as
a French allied unit. |
It is a tricky rule to implement in a solitaire game but there is an
opportunity: The Blind that was just now removed as a dummy I instead use to
mark Abbot Costello's Afranscendos and give them to the French.
Dallyrumple's men continue their rout off the table edge which is probably
good or they'd have fallen into the hands of the rogue Abbot. The bulk of the
Hussars are now all reorganizing in the riverbed. The French infantry choose to
reload their muskets.
Now, Sgt Corgi hears the sound of sabres being drawn behind him and imagines
the glint in the eye of Lt Day when he sees the opportunity presented him. In
aid of the expected cavalry charge, Sgt Corgi has his men fire their rifles on
the Tiffin.
8 firers +2 for elites. It is still an enfilade and the target is still in
line so they will get 11 dice, hitting on 2s. This results in 4 hits on each.
The fusiliers take 4 shock and the voltigeurs 2.

The Abbot's and Lt Day's cards go into the Big Man deck (Hawkesworthe,
Dallyrumple, Graspez le Saucission IV, Grasp the Nettle III, and British Blinds
are all removed)
Turn 11
Lt Banville comes up and I interpret the rules as this would be the time that
groups still recalling on the previous order would move to obey the order from
the previous turn. It might also be interpreted that they move on Tiffin if they
had not otherwise move that turn. Banville is free to remove two shock from the one unit and so
now both the right and left skirmishing forces have rallied together onto the
trumpeter. Destot comes up shortly afterwards to remove another shock so now
there are only 2 shock remaining. They remain two separate groups despite the
recall.
The rules might instead be intended to require that the trumpeter must be
activated again to continue the recall order.
On the Sharp Practice, Hawkesworthe's men fire on the mustering Hussars. 6
riflemen get 7D6 (-2 for 4 shock) for 5D6 total. Their target is 24-36" away so
they hit on 5-6 which results in 1 hit on each of the two groups. Both are near
misses though and so there is no effect. **I had forgotten that this group had
last tap reloaded and so should have been firing as though they had muskets**
Next up to the plate is Captain Montfort and he has a problem. He really
needs to get into square but his fusiliers have 9 shock and his voltigeurs have
5. That's 9" deducted from whatever movement the fusiliers attempt to do.
The first thing he does is remove 1 shock from the fusiliers and then orders
his formation to "Form Close Order Column of Companies, Voltigeur Company
Leading!" and then, with a prayer to the Dice Gods, rolls his dice. A '7' result
means that the fusiliers cannot move but the voltigeurs can get 2" of their
movement done toward the formation change.
Either dooming Montfort or saving him, the Tiffin card is the next
relevant card. No groups have any activities that they can perform on Tiffin
except that Corgi's men do one reload action.
Turn 12
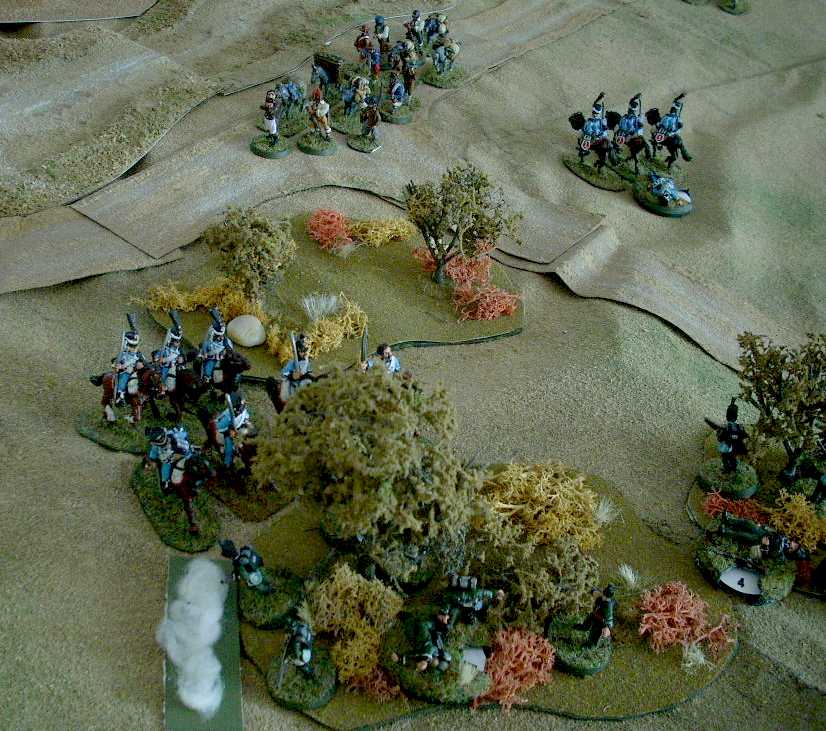
Lt Day's card is the first up. It turns out that this is not the ideal for
the cavalry as they cannot interpenetrate through the skirmish infantry without
becoming unformed. I cannot find a rule to allow them to reform when unformed so
when Lt Day activates his Dragoons, they move 1D6+3" forward and then, if they
get past the skirmishers, they'll spend another action dice to dress ranks and
reform. They might have charged unformed and all they would have lost is a +25%
bonus. They are also worried about their charge going forward unformed, ending
up falling short by an inch or two, and then getting nailed in the flank by
Darlon's Hussars.
In fact, Henri's card is next and it gets him a bonus card as well. If we
were not using Chain-of-Command rules, Henri could order the infantry to
continue their attempt to form square but he cannot. At this point, spending an
initiative to advance the convoy down the road might be just getting it into the
hands of the dragoons sooner when they rout the infantry. Its a pickle.
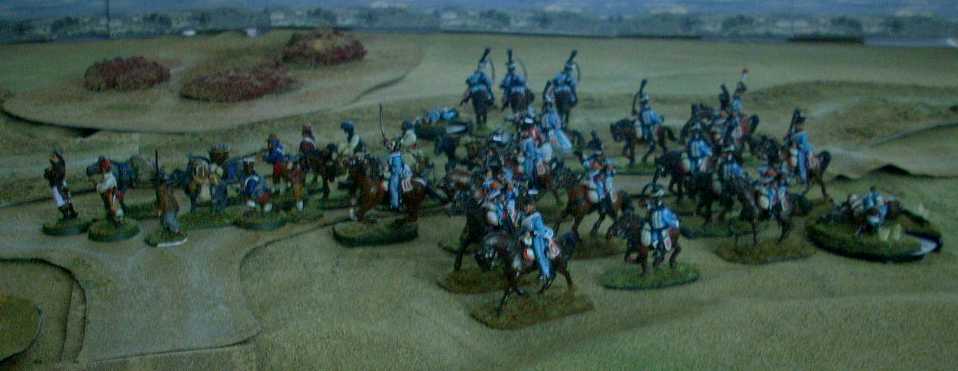
Initiative #1 & 2: Remove 2 shock from the Hussars that he is with.
Initiative #3: Activate the Hussars that he is currently with and have them
manoeuvre to present their front to the enemy and take the Dragoons in the flank
if they do charge. They roll a 7 for movement so about face (2"), retire 2",
about face again (another 2") and then wheel 1" to the right.
Initiative #4: Ride back toward the other troops to aid in getting the Squadron
organized to deal with this cavalry threat.
This is where the tension in the rules set comes to the fore.

Captain Montfort comes up with a Graspez le Saucission II. He couldn't
be happier with the turn of events unless Marat had come up first and aided in
shock relief. All he has to do now is not roll badly...
With three activations available to him, he removes two shock from the fusiliers
and activates the formation again to continue the formation change. He rolls a 9
which, after the minus for shock, allows the voltigeurs to move 4" and the
fusiliers to move but 3". The voltigeurs advance 2" to their position. The
fusiliers spend 1" turning left and then 2" marching. They are getting close...
They'll need 3" more to get into close column and then another 2" to make it
a square. The British Dragoons, it ought be noted, are but 10" away.
When Banville's turn arrives, he too has some tough questions. Both of the
groups with him are in skirmish order and as such, they cannot be combined into
a formation (which would make them much easier to move). He cannot combine them
into a single group until the last 2 shock has been removed from the one group.
He might order them both forward as separate groups or perhaps spend both of his
initiatives to order them both into close order lines so that in future they can
be formed into a single formation. Finally he decides to simply remove 1 shock
and then order the musician to sound the order to advance at the trot. He will
move attached to one group and Destot will be attached to the other. Perhaps
happily, the lead troop even catches up to make contact with Captain Darlon.
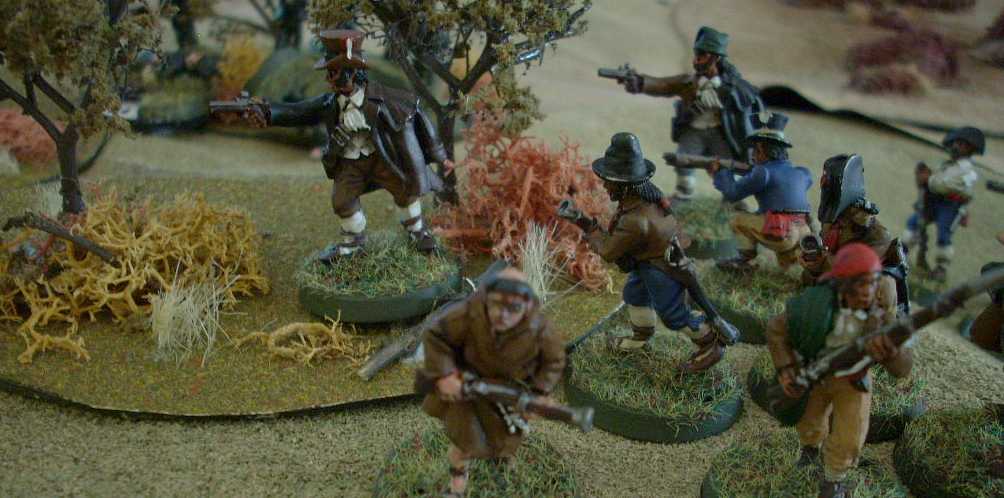
The Abbot's move is nothing exciting. He moves in to occupy the woods behind
Hawkesworthe's remaining Riflemen and they unload their blunderbusses upon them.
12 poor shooters get 10 dice +2 for first volley +1 for firing on the Abbot's
initiative for 13. Since the riflemen are in soft cover this drops to 7 dice
hitting on 5-6. In the resulting 3 hits, they achieve only a single kill and no
shock. I make the D10 roll to see if they finished off the grievously wounded
Hawkesworthe but it is some private slain instead.
It ought be noted that up to this point, for all the shock and disruption
that has been put upon the French, they have only lost 3 soldiers. The British,
on the other hand, have had 10 rankers slain, 3 run off, and had two officers
felled. I considered giving the Riflemen a replacement officer to rebalance
things but the game might never end then and if the dragoon charge goes in with
devastating effect, it could be all over for the French.
The Tiffin card pops up next. Corgi finishes his reload. I interpret
the rules for 'occupying terrain on the Tiffin card' to allow
Hawkesworthe's band to turn around to face this new threat to their rear but it
means they won't also get to reload.
PART FOUR