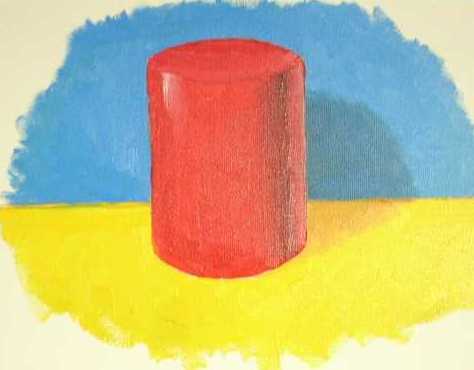
DAY TWO
Primary colours, shades, shadows and a cylinder.
Interesting points: The highlight, though mostly white, gets a dab of complimentary colour
The cast shadow on the wall and table is darkened and then greyed with 10% matching complimentary. The shadows are not painted the base colour and then darkened. Instead, the shadow colours are mixed and applied cleanly.
Shade is mixed on canvas. Darkened (with a hint of compliment) in a series of strokes that eventually blend. Reflected light is white mixed, on palette, with a hint of shade tone.
There was trouble getting that straight line on the left. Yellow over blue bled too much. I need to be more decisive in my first stroke.

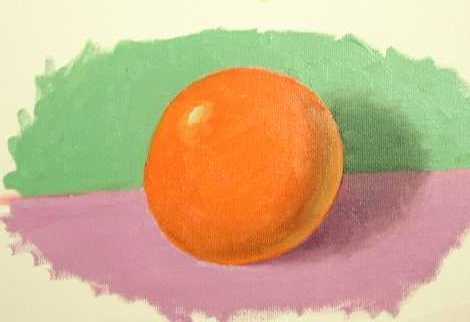
Secondary colours, shadows, shades, and a sphere.
The shadow beneath the sphere got simply darkened.
The shade for the orange had to be darkened toward a muddy brown. It is not a pretty colour but it seems right.
The reflected light is only opposite shadows. It is where shade and shadow meet.
The shape of the shadow was only roughed out. Sure, its not accurate but it gets the idea across and let me test colours.
STARTING A STILL LIFE
Two possible approaches to the arrangement. I'm partial to the rightmost.
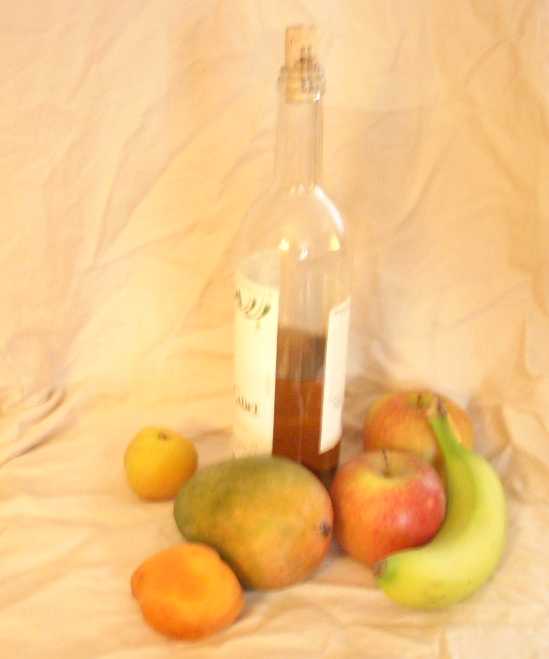
Reading further, the text says to use three fruity objects on a white napkin so. in the interest of not thinking that I know better or to aim too high, I follow the instructions to the letter.
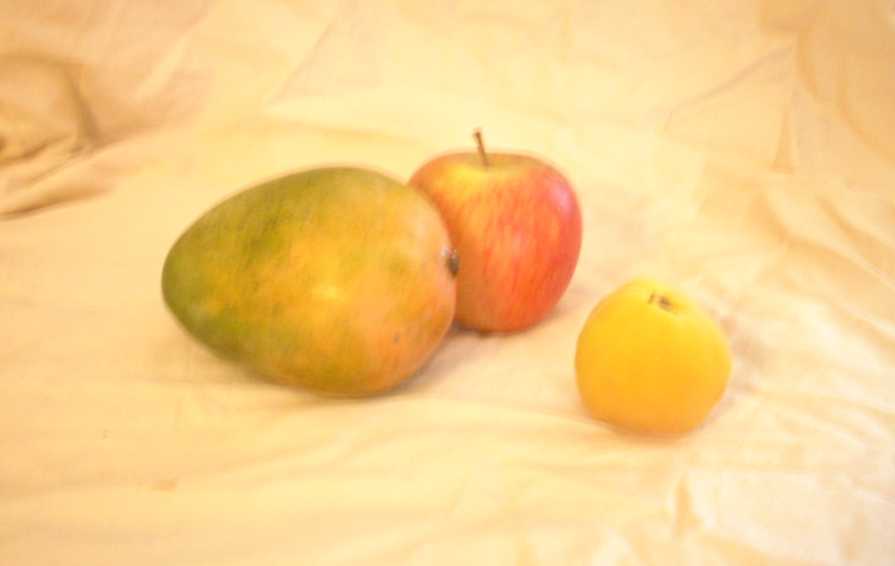
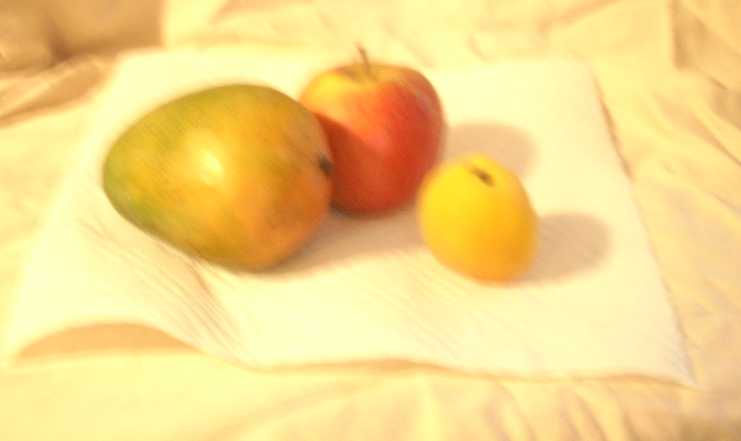
The goal is not to be realistic but to be informed by the details of reality.
I was surprised to see the recommendation that step one, after roughing in the contours, is to finish the background. Further, to start with the shadows on the napkin was not something I'd have thought to do. Start dark and work light, it seems. I've got a slight case of double lighting which will complicate mine a little more than we are instructed to.
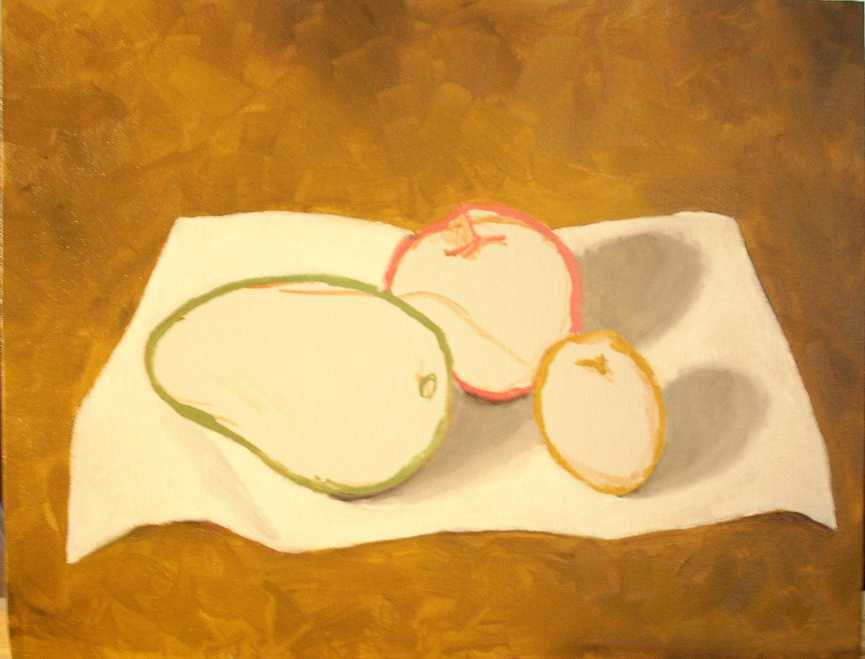
The next stage will occur on Day 3. I'll be starting on the apple. Find the colour, hue, adjust the value, adjust the chroma, and then there's layers of colour (yellow-green beneath light red?) and then it will all have to be shaded. Note also on the forward side of the apple there is cast shadow from the bigger thing (whatever that is). Finally, it gets light: highlights, reflected lights, and final shadows. At this point I feel it is well beyond me but the point is to learn.