A HUSSARS DUTY
PART FOUR - B
Turn 13 cont'd
12 fusiliers plus Montfort will give the French 13 base dice. They get +1 for 2 levels of Big Man, -3 for the 6 shock on them and then half the result so their total will be 6 dice. When rolling the dice, they achieved 2 kills and 1 shock which still allows them to win the fight because they got 1 more kill than their opponent. There is a rule that allows a force with 4 times the dice of another to automatically win but that does not apply here.
The cavalry would be thrown back 12" facing the enemy and may act as desired.
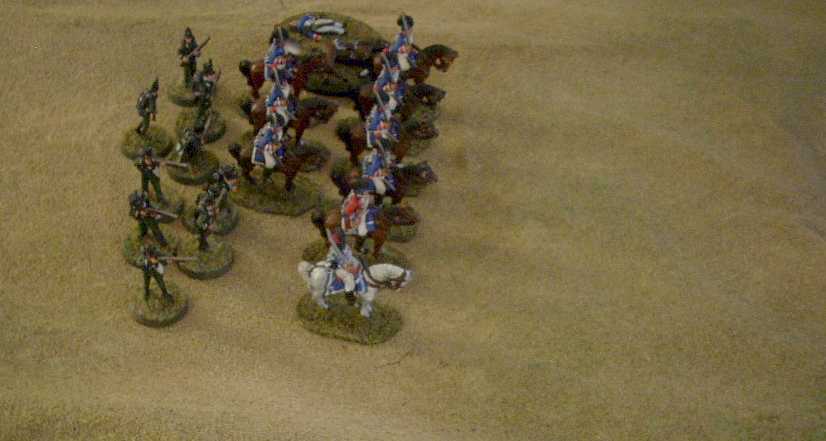
Banville comes up next and he removes the last shock from the rearmost Hussars and then uses his second initiative to join the two groups of 6 Hussars into a single group of 12 (still in skirmish order). I don't think doing this means that the group has acted this turn yet.
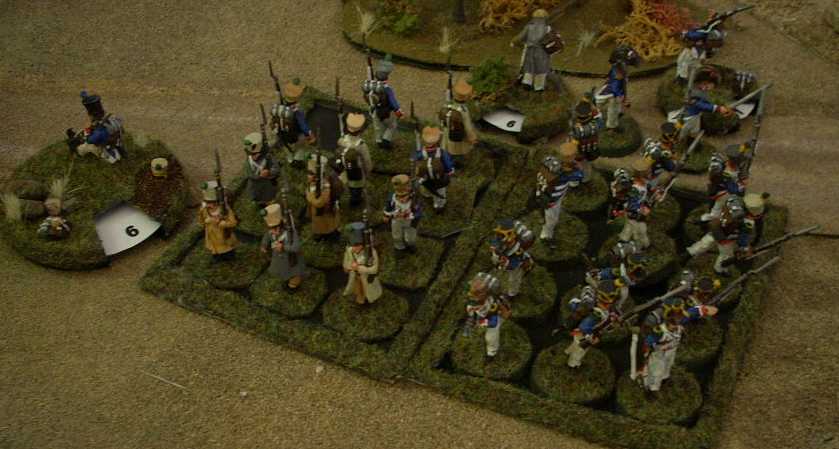
Montfort is up. He removes 1 shock from the fusiliers, reducing it to 7 and then makes another desperate roll to get that square formed. He gets an 11! So he has 4" of movement. He uses 2" to get the fusiliers lined up with the voltigeurs and then it requires 1" to turn them right to get them into closed column. They have an inch to spare. It requires 1" to face the sides out but 2" to about face the rear rank. **Grrrr**. He'd have it if I didn't require that they first completely finish the transition into column. The rear rank had to turn right and then about face just for completeness sake. So though the square is 95% complete at this point, the rear rank is not facing outward. My French bias screams that that is good enough but their luck has been so good up 'til now that it hardly seems required to cheat on their behalf.
...then Marat comes up and Montfort screams at the sequencing. Marat removes 1 shock from the fusiliers.
Abbot Costello orders his men to reload though he was sore tempted to charge down the hill at the riflemen. On the following Tiffin, those rifles do a tap reload. Corgi's men have no options.
Turn 14
Lt Destot is first. Since the Hussars near him are now a single group he can give them orders. They roll up the hill at the trot to engage in carbine fire at point blank range against Hawkesworthe's riflemen. Destot rides with them while Darlon and Banville wait to move later. The Hussars can bring 10 shooters into range and they are firing under the initiative of a level 1 Big Man so they have 11 dice as a base and require a 6 to hit. One wonders if there ought be a carbine option on the light troops skirmishing table.
It is their first volley so they get +2 but because the target is in soft cover the final number of dice is dropped by half to 7. Two hits are scored which results in a single shock being added to the rifles.

Henri Darlon orders the convoy forward. It is not allowed to leave the road so it can go no further until the square is, one way or another, moved. The Hussar commander then attaches himself to the advance guard. He could order them to charge but they'd have to go in without him.
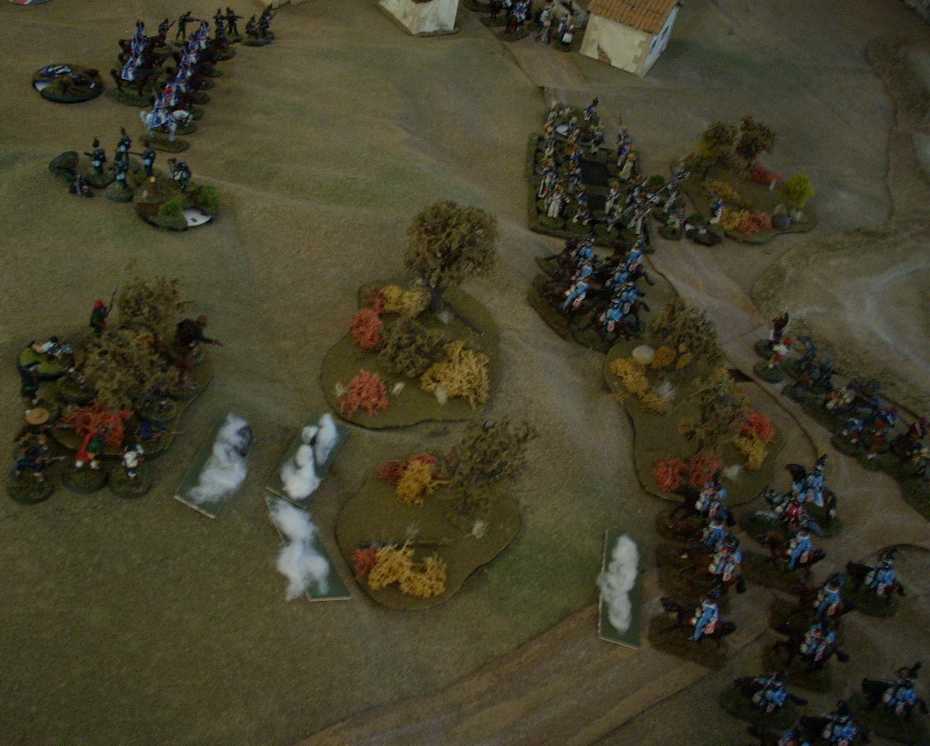
Corgi gets a Stand Fast Bonus card on his turn and then debates running his men to rescue Hawkesworthe or continuing with the mission. He resigns himself to the latter, moves 1 action dice to get clear of the cavalry and then fires a rifle volley at the French massed ranks. 8 rifles +2 for elite firing on a Big Man of 1 = 11 dice base. Hrm. Is the target is square? Apparently not ;). We'll count them as being in enfiladed column so the rifles get +1 dice and +1 to each dice so they'll get 12 dice getting hits on 3s. The end result is 2 kills and 4 shock, spread out between the two groups of the formation. No Big Men are hit.

On the Sharp Practice, Hawkesworthe's detachment fires on the Abbot's men. 5 elite shooters get 6 dice but lose 2 due to their 5 shock. Their target is in soft cover so it is halved down to 2. They would hit on 4-6 and get two hits, resulting in 1 shock and 1 kill (not the Abbot).
On Tiffin, the Guerrillas return fire. 11 shooters on targets in soft cover get 6 dice needing 5-6 to hit. Three hits result in 1 shock. Now the Riflemen have more shock than the have men remaining. This means that they may no longer advance and on Tiffin, they must fall back. The distance they fall back, because they are elite, is only 1" for each point of difference between shock and number of men remaining. So they inch one inch toward Corgi's men. They carry their wounded commander with them.
Turn 15
Banville contemplates ordering a charge against Hawkesworthe's beleaguered party but they'd only get 3 or 4 dice in fisticuffs so instead spends one initiative riding up to join the group and then spend his next activating the large group of Hussars. They use one action to reload and then another to fire again. 10 shooters firing on the initiative of a level 2 Big Man will get 12 dice, halved for cover to 6 needing 6s to hit. They achieve 1 but it has no effect.
Sgt Corgi's riflemen reload.
Abbot Costello orders his men to reload and fire. It will be the same as it was the last time they fired: 6 dice needing 5-6. The Abbot declares it is a miracle as no less than 4 hits are achieved which results in 2 shock and a kill. Now having two times more shock than remaining figures, the Rifles lose their bottle and will rout 12", irrespective of terrain, away until they get into complete cover (more likely off the board).
There is a Graspez le Saucission II up so Captain Montfort spends two initiative to remove shock from the fusiliers and then activates them to try to move that last inch to get into square. He rolls a 7 and so gets them into square with an inch to spare. Of course, it is Corgi's riflemen that are causing shock faster than the infantry commanders can clear it. Now that they are formed up though the infantry may be able to spend an action to return fire.
Marat comes up next and removes a shock from the voltigeurs.
Tiffin
But for the rout of Hawkesworthe's stragglers, nothing happens on the Tiffin.
Turn 16
On Sharp Practice, Sgt Corgi's men fire on the square. 8 shooters +2 for elite +2 for target being in square means 12 dice hitting on 3's. 7 hits result in 3 kills and 2 shock. No Big Men are hit.
Destot gets two Bonus Cards to use later. One is a Random Event Firing and the other is Bugle Call. This would allow a cavalry formation to attack with elan which means +25%. That encourages the French to get as many dice as possible into their next cavalry charge. For Destot's initiative, he sends the Hussar skirmishers trotting through the woods to take up position toward the flank of the British Dragoons. He'll also want them close to Henri's group in case there is an opportunity to join them together in a formation for a charge. Moving through the woods will cause the cavalry -1 on each dice and I'd rule that you cannot trot through them so it will be a 2D6-2 but +1 for being in skirmish. The rules really don't like cavalry being in skirmish order.
Abbot Costello asks his men to reload and then moves out into the open ground on the flank of the British light Dragoons. 1D6-2 of movement (-1 for terrain and -1 for shock) means that they don't actually move but we can turn them.
Banville has two initiatives and decides to tell his trumpeter to sound the advance. He cannot wait for Henri's card to come up any longer. Henri at least can move with the advance as he is attached to them. His second initiative is used to add fervour to the charge if they impact but the last time the cavalry moved they walked back on turn 12. The rules are unclear on whether that means that during turns 13,14, and 15 they were at the halt. If that is the case then they cannot go into a gallop immediately but must instead go from a halt to a walk. I'm inconsistent with this rule as it seems to be an abstraction that troops are not actually halted when they miss a turn but that time is fluid. I'll treat it that they must walk for now.
Their advance is 5".
Montfort, with a Graspez le Saucission II, uses 2 initiatives to remove shock form the voltigeurs and then activates his battered square. They are ordered to fire a volley and then immediately reload. We'll give them 9 firers, firing under a level 2 Big Man's orders, that will give them 11 base. They lose 6 dice for the 13 shock that the two groups have accumulated. They'll hit on 6s in their 9-18" range band. The trick question is which target: cavalry or rifles. The rifles are what is causing all the stress on the square but the Hussars have started to charge the Dragoons so they ought help them. As well, since the Dragoons are in line, they'd hit on 5s or 6s. They opt to hit the cavalry and get a single hit which results in 1 shock.
Marat is next with a Graspez le Saucission I and removes two shock from the voltigeurs.
Tiffin
Hawkesworthe's men get off the tabletop. Corgi's men get half a reload done. Everybody else has fully acted so has no options on the Tiffin.
Turn 17
After collecting a Bonus Card, Corgi acts. His riflemen finish their reloading and then immediately unload onto the Hussars. Because of blocking cavalry and hills, they only get 6 shooters (+1 for elite +1 for level 1 Big Man) but their 8 dice only get 4 hits and all four of those hits result in misses. The amazing French luck holds.
Graspez le Saucission III...
Marat cannot order the formation of infantry as he is only level 1 and its size is 2 so he removes shock from the fusiliers. He cannot use the Graspez le Saucission III either because he is too small a Big Man.
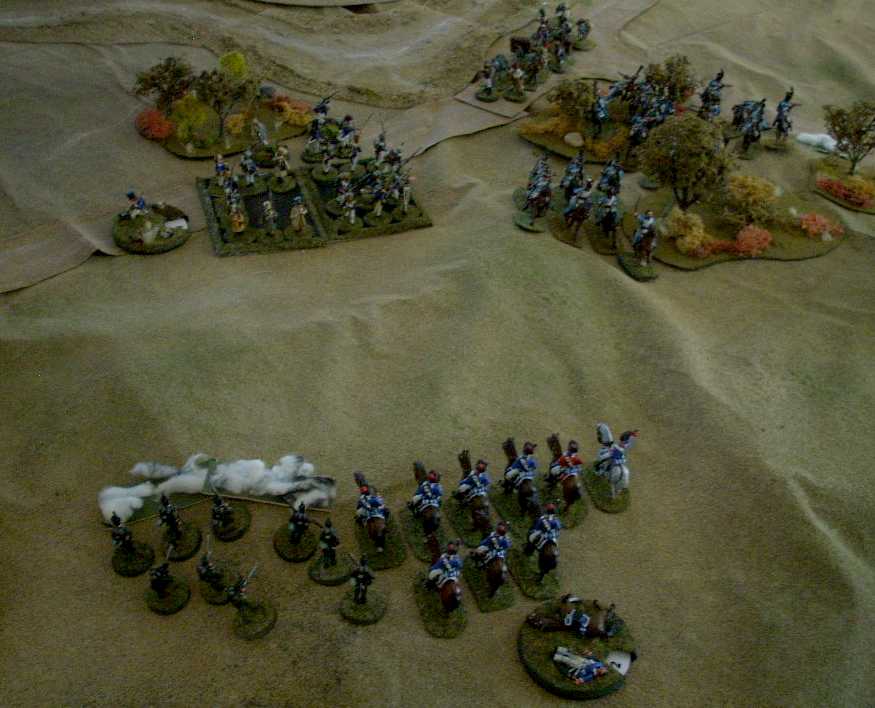
Lieutenant Day is up next. Were not Hussars bearing down on him he might consider riding to town to get his three lost troopers back but instead starts the counter-charge. He too must start at a walk but before going, he removes a point of shock. Just to be sure, he uses one of the two Stand Fast cards in his hand and removes the last shock also. The British have had all three of their cards go through their hand but have never had much shock where a Big Man could remove it so discarded one. They remove an additional 1D6 shock so Montfort was hoping for a couple of those. Lt Day's Dragoons advance at the walk and roll 2D6 and get a 9. There is no contact yet.

Much to Lt Day's dismay, the next card to come up is Henri Darlon and with the Graspez le Saucission III, he gets 5 initiatives.
Henri looks at how he might take the cavalry behind, form it into line and make a formation with the two groups before charging but it really isn't practical. No, he takes his small command, adds 4 fervour to it, plays the Bugle Call card, and gallops into the Dragoons!

There are 9 Light Dragoon models (including attached trumpeter) and they'll get +1D6 for having 2 levels of Big Men and apparently Cavalry get +25% against a formed line so the Dragoons will get 13 dice. Getting 1 '6' and 3 '5's, the Dragoons will do 1 kill and inflict 3 shock. Rolling for Big Men we find that Henri Darlon is not the affected kill.
Six Hussar troopers plus Henri makes 7 models. Henri gets to add +4D6 for leading the charge and +4D6 for the fervour he used for 15 subtotal. The Hussars will get +25% for charging with élan, +25% for charging against a formed line, and +25% for formed cavalry charging at the gallop so 15 + 75% = 26 dice to be rolled. The result? 6 kills and 6 shock. Lt Day (or his trumpeter) is a casualty on a 6 or less on a D10 but he is not.
A decisive victory. The resulting retreat of the Dragoons take them off the table. With only Sgt Corgi's detachment remaining with unloaded rifles in the center of a plain, we can draw the curtain on this scene.